Whimsical Graduation Cookie Pops
Highlighted under: Special Occasion
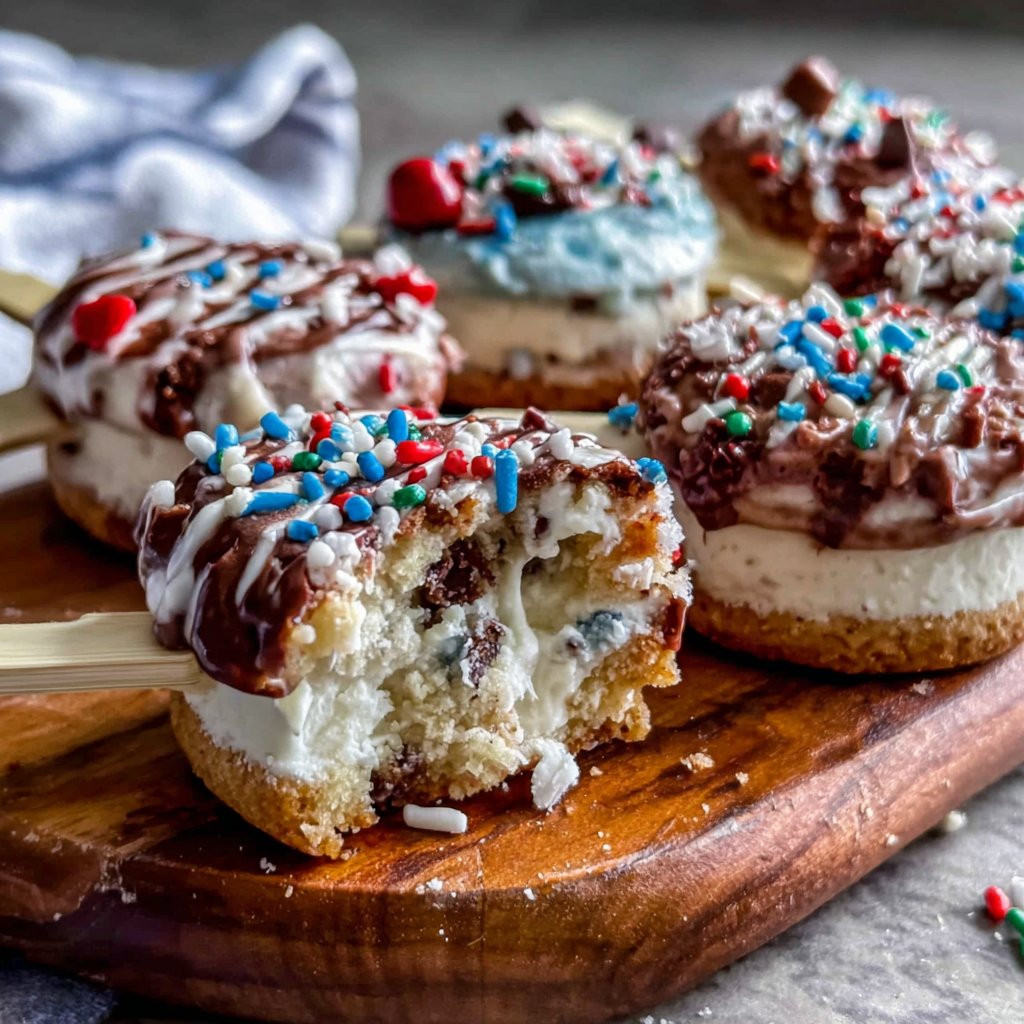
I always look forward to graduation season, and this year, I wanted to create something truly special. That's why I decided to bake whimsical graduation cookie pops. These delightful treats are not only eye-catching but also incredibly delicious. With their vibrant colors and playful designs, they perfectly celebrate the achievements of the graduates in my life. The best part is that they are easy to make and great for gatherings. I can’t wait to see the smiles on everyone’s faces when they see (and taste) these cookie pops!
When I first experimented with cookie pops, I was amazed at how fun and versatile they could be! I made these whimsical ones for my friend's graduation ceremony, and they were an instant hit. To make the pops visually appealing, I used colorful edible decorations and creatively shaped cookie cutters, which made the process even more enjoyable.
One tip I learned is to let the cookies cool completely before dipping them in chocolate to avoid melting. The end result was a delightful combination of buttery cookies and rich chocolate, perfect for a festive celebration. I can't wait to share this recipe!
Why You'll Love These Cookie Pops
- Fun and playful designs that are perfect for any graduation celebration
- Delicious buttery cookie flavor paired with rich chocolate coating
- Easy to customize with different colors and designs for every graduate
Cookie Dough Importance
The cookie dough is the foundation of your graduation cookie pops, and the balance of butter and sugar is key to achieving that rich, buttery flavor. Using room-temperature butter helps to create a smooth mixture that incorporates air, leading to a light and fluffy texture. Make sure not to overmix the dough after adding the flour; overworking can result in tough cookies instead of the tender ones we love.
Chilling the dough for 30 minutes not only makes it easier to handle, but it also allows the flavors to meld together. This step is crucial for preventing the cookies from spreading too much during baking. If you prefer a thicker cookie pop, you can chill the dough longer for even greater firmness after shaping.
Baking Techniques
When rolling out the dough, keep your workspace lightly floured to prevent sticking; I like to use a silicone baking mat for easy cleanup and even rolling. It's important to roll the dough to about 1/4 inch thick, as thicker cookies will need more baking time and could end up not cooking all the way through. Aim for a light golden color at the edges for the perfect result.
While baking, keep an eye on the cookies during the last few minutes. They can go from perfectly baked to too brown quickly, so set a timer for 12 minutes and check for doneness. When they’re ready, they should be firm but not hard; let them cool completely on the baking sheet before moving them to avoid cracking.
Decorating and Storing
For the chocolate coating, ensure you melt the candy melts slowly and evenly, either in a microwave or a double boiler. A microwave works best with 30-second intervals at half-power, stirring between each until glossy. After dipping your cookie pops, let them sit on parchment paper to harden; don't rush this step—even a slight cooling can affect the finish of your design.
If you're looking to make these cookie pops ahead of time, store the undecorated cookies in an airtight container at room temperature for up to a week. The decorated pops, however, are best consumed within a few days to maintain their freshness, especially if using toppings that may lose their texture. You can refrigerate the pops in a single layer if the weather is warm to keep the chocolate from melting.
Ingredients
Gather your ingredients to create these delightful cookie pops:
Ingredients for Cookie Pops
- 2 cups all-purpose flour
- 1/2 tsp baking powder
- 1/4 tsp salt
- 1 cup unsalted butter, softened
- 1 cup granulated sugar
- 1 egg
- 1 tsp vanilla extract
- Chocolate candy melts (various colors)
- Lollipop sticks
- Edible decorations (sprinkles, edible markers)
Make sure to have a selection of edible decorations to finish off your cookie pops.
Instructions
Follow these steps to create your whimsical cookie pops:
Prepare the Cookie Dough
In a bowl, whisk together the flour, baking powder, and salt. In a separate bowl, cream the butter and sugar until light and fluffy. Beat in the egg and vanilla. Gradually mix in the flour mixture until combined. Chill the dough for 30 minutes.
Shape and Bake
Preheat the oven to 350°F (175°C). Roll out the chilled dough on a floured surface and cut out shapes with cookie cutters. Insert lollipop sticks into each cutout. Place on baking sheets and bake for 12-15 minutes, or until lightly golden. Let cool completely.
Decorate the Cookie Pops
Melt the chocolate candy melts according to package instructions. Dip each cookie pop into the melted chocolate and let excess drip off. Decorate with sprinkles or use edible markers to add designs. Allow to harden on parchment paper.
Once decorated, these pops are ready for any graduation celebration!
Pro Tips
- Chilling the dough helps prevent the cookies from spreading too much during baking. Feel free to use various cookie shapes to match your graduate's field of study!
Creative Variations
Customization is where these cookie pops truly shine! Consider using colored candy melts to match your graduate's school colors for a more personal touch. You can even use edible glitter or themed sprinkles to enhance the festive appearance. Another fun idea is to dip half of the cookie in one color and the other half in another for an eye-catching two-tone effect.
For flavor variety, experiment by adding citrus zest or almond extract in place of vanilla, or even incorporating spices like cinnamon for a unique twist on the classic cookie. These small adjustments can create a whole new flavor profile that still delights the palate without overwhelming the original buttery taste.
Serving Suggestions
These whimsical cookie pops can be presented in a variety of fun ways. Consider using a decorative foam block or a vase filled with rice to display the cookie pops upright; this not only showcases creativity but also makes serving easier. You can even theme the display to match the graduation decorations for maximum impact.
Pair these cookie pops with drinks like milk, juices, or even festive punch for gatherings. The sweetness of the cookies complements a wide range of beverages, making them a perfect addition to festive tables. Also, don't hesitate to package them as adorable favors for guests to take home, further celebrating the special occasion.
Questions About Recipes
→ Can I use gluten-free flour for this recipe?
Yes, you can substitute regular flour with a gluten-free blend. Just make sure it is a 1-to-1 substitute.
→ How long can I store the cookie pops?
These cookie pops can be stored in an airtight container for up to one week.
→ Can I use royal icing instead of chocolate?
Absolutely! Royal icing works well for decorating, but keep in mind it has a different texture and taste.
→ How can I make these cookie pops dairy-free?
Use dairy-free butter and ensure that the chocolate candy melts are also dairy-free.

Whimsical Graduation Cookie Pops
Created by: The Chefomarfoods Team
Recipe Type: Special Occasion
Skill Level: Intermediate
Final Quantity: 12 pops
What You'll Need
Ingredients for Cookie Pops
- 2 cups all-purpose flour
- 1/2 tsp baking powder
- 1/4 tsp salt
- 1 cup unsalted butter, softened
- 1 cup granulated sugar
- 1 egg
- 1 tsp vanilla extract
- Chocolate candy melts (various colors)
- Lollipop sticks
- Edible decorations (sprinkles, edible markers)
How-To Steps
In a bowl, whisk together the flour, baking powder, and salt. In a separate bowl, cream the butter and sugar until light and fluffy. Beat in the egg and vanilla. Gradually mix in the flour mixture until combined. Chill the dough for 30 minutes.
Preheat the oven to 350°F (175°C). Roll out the chilled dough on a floured surface and cut out shapes with cookie cutters. Insert lollipop sticks into each cutout. Place on baking sheets and bake for 12-15 minutes, or until lightly golden. Let cool completely.
Melt the chocolate candy melts according to package instructions. Dip each cookie pop into the melted chocolate and let excess drip off. Decorate with sprinkles or use edible markers to add designs. Allow to harden on parchment paper.
Extra Tips
- Chilling the dough helps prevent the cookies from spreading too much during baking. Feel free to use various cookie shapes to match your graduate's field of study!
Nutritional Breakdown (Per Serving)
- Calories: 220 kcal
- Total Fat: 11g
- Saturated Fat: 7g
- Cholesterol: 30mg
- Sodium: 50mg
- Total Carbohydrates: 29g
- Dietary Fiber: 0g
- Sugars: 14g
- Protein: 2g