Comfort Creamy Mac & Cheese
Highlighted under: Homestyle Eats
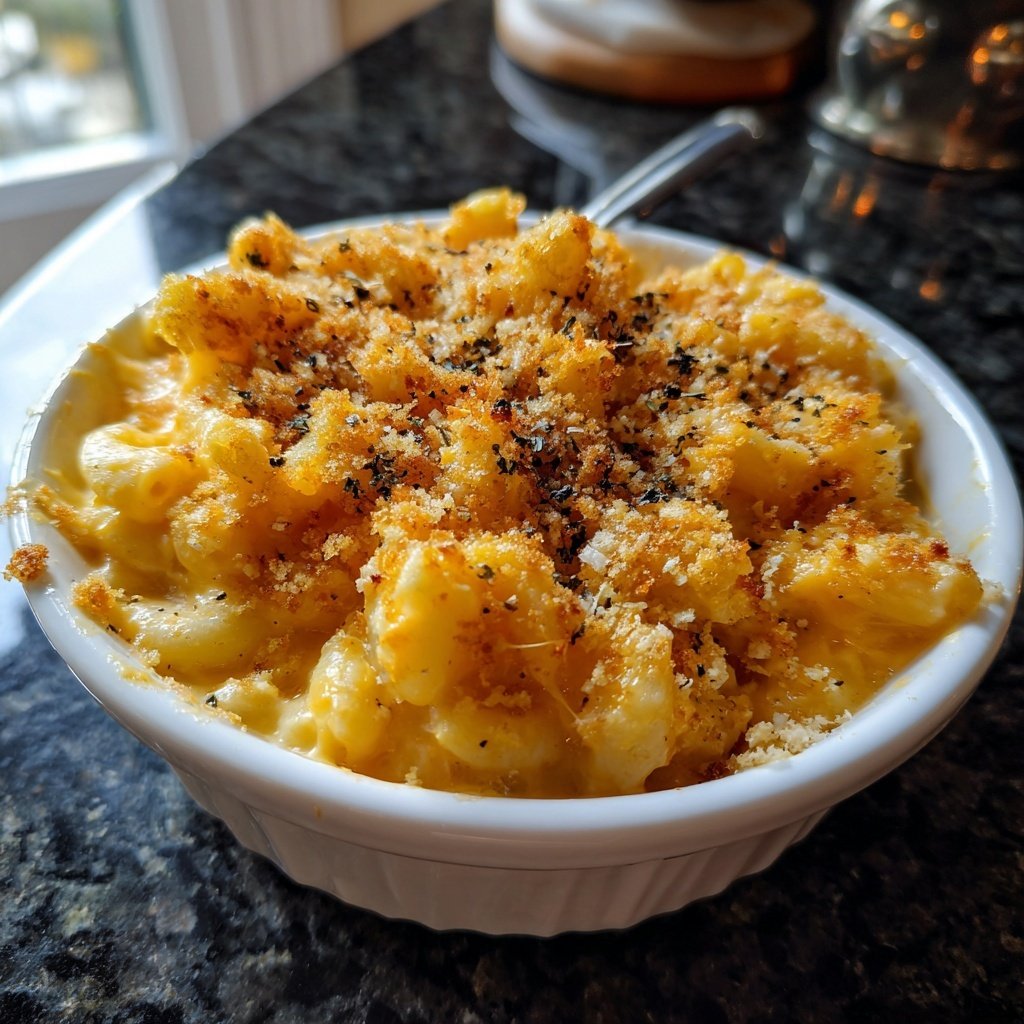
I absolutely adore making Comfort Creamy Mac & Cheese for my family on chilly nights. The rich, velvety cheese sauce envelops each cheesy noodle, turning a simple dish into a comforting hug on a plate. This recipe is incredibly simple to make, yet it leaves everyone asking for seconds! The addition of a touch of nutmeg elevates the flavor to something unforgettable. Trust me, once you try this version, you'll never want to go back to store-bought mac & cheese!
When I first started making mac & cheese, I struggled to get the sauce just right. But over time, I discovered that blending different cheeses not only enhances the flavor but also creates that luscious creaminess we all crave. My go-to combo includes sharp cheddar and creamy mozzarella - it's a match made in cheese heaven!
One tip I swear by is to bake the mac & cheese for a few minutes after cooking it on the stovetop. This step creates a crispy topping that contrasts beautifully with the creamy base, making every bite a delightful experience. You won't believe the difference it makes!
Why You'll Love This Recipe
- Decadent flavor from a combination of cheeses
- Creamy texture that envelops every noodle
- Perfect for cozy family dinners or gatherings
Why This Cheese Combination Works Wonders
The blend of sharp cheddar, mozzarella, and Parmesan is key to achieving that rich, layered flavor profile in this mac and cheese. Sharp cheddar provides a bold, tangy taste that stands out, while mozzarella adds a delightful creaminess that balances the dish. Parmesan contributes a nutty undertone and a slight saltiness, enhancing the overall depth of flavor. Together, these cheeses meld beautifully, creating a sauce that is both decadent and satisfying, making every bite a comforting experience.
Another reason this cheese trio excels is their melting qualities. Cheddar melts quickly and creates a smooth base, while mozzarella's stretchy nature adds a unique texture. Parmesan, on the other hand, helps to thicken the cheese sauce due to its aged characteristic. When melted together, they create an irresistibly creamy and luscious cheese sauce that clings perfectly to the elbow macaroni, ensuring a delightful bite every time.
Perfecting Your Cheese Sauce
Achieving that perfect creamy cheese sauce hinges on a few crucial techniques during preparation. When whisking your flour with melted butter, be sure to cook it just long enough to eliminate the raw flour taste—usually about 1 minute is sufficient. If it's undercooked, your sauce could have a gritty texture. If overcooked, it might darken too much and affect the sauce color. Keeping a close eye on the roux ensures that each ingredient will blend smoothly into the sauce.
Incorporating the milk gradually while whisking continuously prevents lumps from forming, which can ruin the silky consistency we aim for in this recipe. As the mixture thickens, it should coat the back of a spoon—a visual cue that indicates readiness for adding cheese. If you find your sauce too thick, you can whisk in a little more milk until it reaches your desired consistency, making it easier to stir in the cheese that follows.
Ingredients
For the Mac & Cheese
- 8 oz elbow macaroni
- 2 cups shredded sharp cheddar cheese
- 1 cup shredded mozzarella cheese
- 1/2 cup grated Parmesan cheese
- 4 tablespoons unsalted butter
- 1/4 cup all-purpose flour
- 2 cups milk
- 1/4 teaspoon ground nutmeg
- Salt and pepper to taste
Make sure to measure your ingredients accurately for the best results!
Instructions
Cook the Pasta
In a large pot, bring salted water to a boil and cook the elbow macaroni according to package instructions until al dente. Drain and set aside.
Make the Cheese Sauce
In the same pot, melt the butter over medium heat. Once melted, whisk in the flour and cook for about 1 minute. Gradually add the milk while whisking continuously to avoid lumps. Cook until the mixture thickens slightly, about 3-4 minutes.
Add Cheeses
Remove the pot from heat and stir in the cheddar, mozzarella, and Parmesan cheese until melted and smooth. Add nutmeg, salt, and pepper to taste.
Combine Pasta and Sauce
Stir the cooked macaroni into the cheese sauce until evenly coated.
Bake (Optional)
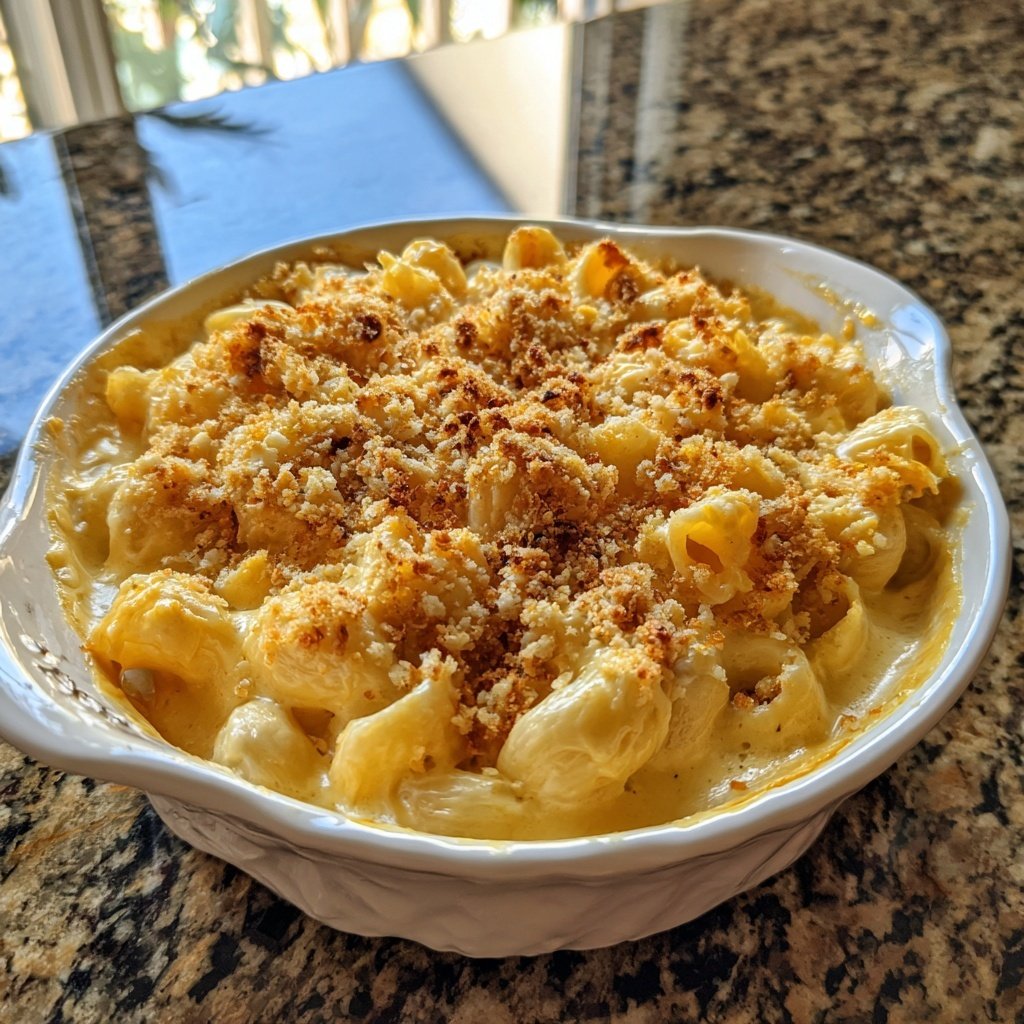
If you prefer a crunchy top, transfer the mac & cheese to a baking dish, top with extra shredded cheese, and bake in a preheated oven at 350°F (175°C) for about 10 minutes or until golden and bubbly.
Serve hot and enjoy your homemade mac & cheese!
Pro Tips
- For an extra pop of flavor, consider adding cooked bacon bits or breadcrumbs on top before baking.
Serving Suggestions
Comfort Creamy Mac & Cheese is a fantastic standalone dish, but you can elevate it further with some smart serving ideas. Consider transitioning it into a full meal by adding in cooked veggies like steamed broccoli or spinach for extra nutrition and color. You can also mix in cooked proteins like crispy bacon or rotisserie chicken for a heartier option. These additions create a delightful contrast to the creaminess, making each bite more exciting.
Pair your mac and cheese with a light side salad dressed with a tangy vinaigrette to balance the richness of the dish. The fresh crunch will play off the creamy texture beautifully, making for a well-rounded meal that satisfies both comfort and health.
Make-Ahead and Storage Tips
This recipe is ideal for meal prepping, as you can make it ahead of time and store it for later. Feel free to prepare the entire dish, then let it cool completely before covering it tightly and placing it in the refrigerator. It can last for about 3 days before losing its optimal texture and flavor. Just reheat it gently in the oven, covered with foil, at 350°F (175°C) until warmed through, about 20-25 minutes, to ensure it doesn't dry out.
If you're looking to make a larger batch, consider freezing portions of your baked mac and cheese. It freezes well for up to 3 months when wrapped tightly in plastic wrap and then in foil. To reheat, thaw it in the refrigerator overnight before baking at 350°F (175°C) for approximately 30-35 minutes or until bubbling. The flavors will meld even more over time, enhancing the overall taste!
Questions About Recipes
→ Can I use gluten-free pasta?
Absolutely! Gluten-free pasta works great in this recipe.
→ How do I store leftovers?
Store leftovers in an airtight container in the fridge for up to 3 days.
→ Can I make this dish ahead of time?
Yes, you can prepare it ahead and refrigerate. Just bake it when ready to serve!
→ What can I add for extra flavor?
Try adding cooked broccoli, tomatoes, or spices like paprika for different flavor profiles.
Comfort Creamy Mac & Cheese
Created by: The Chefomarfoods Team
Recipe Type: Homestyle Eats
Skill Level: Beginner
Final Quantity: 4 servings
What You'll Need
For the Mac & Cheese
- 8 oz elbow macaroni
- 2 cups shredded sharp cheddar cheese
- 1 cup shredded mozzarella cheese
- 1/2 cup grated Parmesan cheese
- 4 tablespoons unsalted butter
- 1/4 cup all-purpose flour
- 2 cups milk
- 1/4 teaspoon ground nutmeg
- Salt and pepper to taste
How-To Steps
In a large pot, bring salted water to a boil and cook the elbow macaroni according to package instructions until al dente. Drain and set aside.
In the same pot, melt the butter over medium heat. Once melted, whisk in the flour and cook for about 1 minute. Gradually add the milk while whisking continuously to avoid lumps. Cook until the mixture thickens slightly, about 3-4 minutes.
Remove the pot from heat and stir in the cheddar, mozzarella, and Parmesan cheese until melted and smooth. Add nutmeg, salt, and pepper to taste.
Stir the cooked macaroni into the cheese sauce until evenly coated.
If you prefer a crunchy top, transfer the mac & cheese to a baking dish, top with extra shredded cheese, and bake in a preheated oven at 350°F (175°C) for about 10 minutes or until golden and bubbly.
Extra Tips
- For an extra pop of flavor, consider adding cooked bacon bits or breadcrumbs on top before baking.
Nutritional Breakdown (Per Serving)
- Calories: 500 kcal
- Total Fat: 28g
- Saturated Fat: 17g
- Cholesterol: 65mg
- Sodium: 600mg
- Total Carbohydrates: 45g
- Dietary Fiber: 2g
- Sugars: 3g
- Protein: 20g